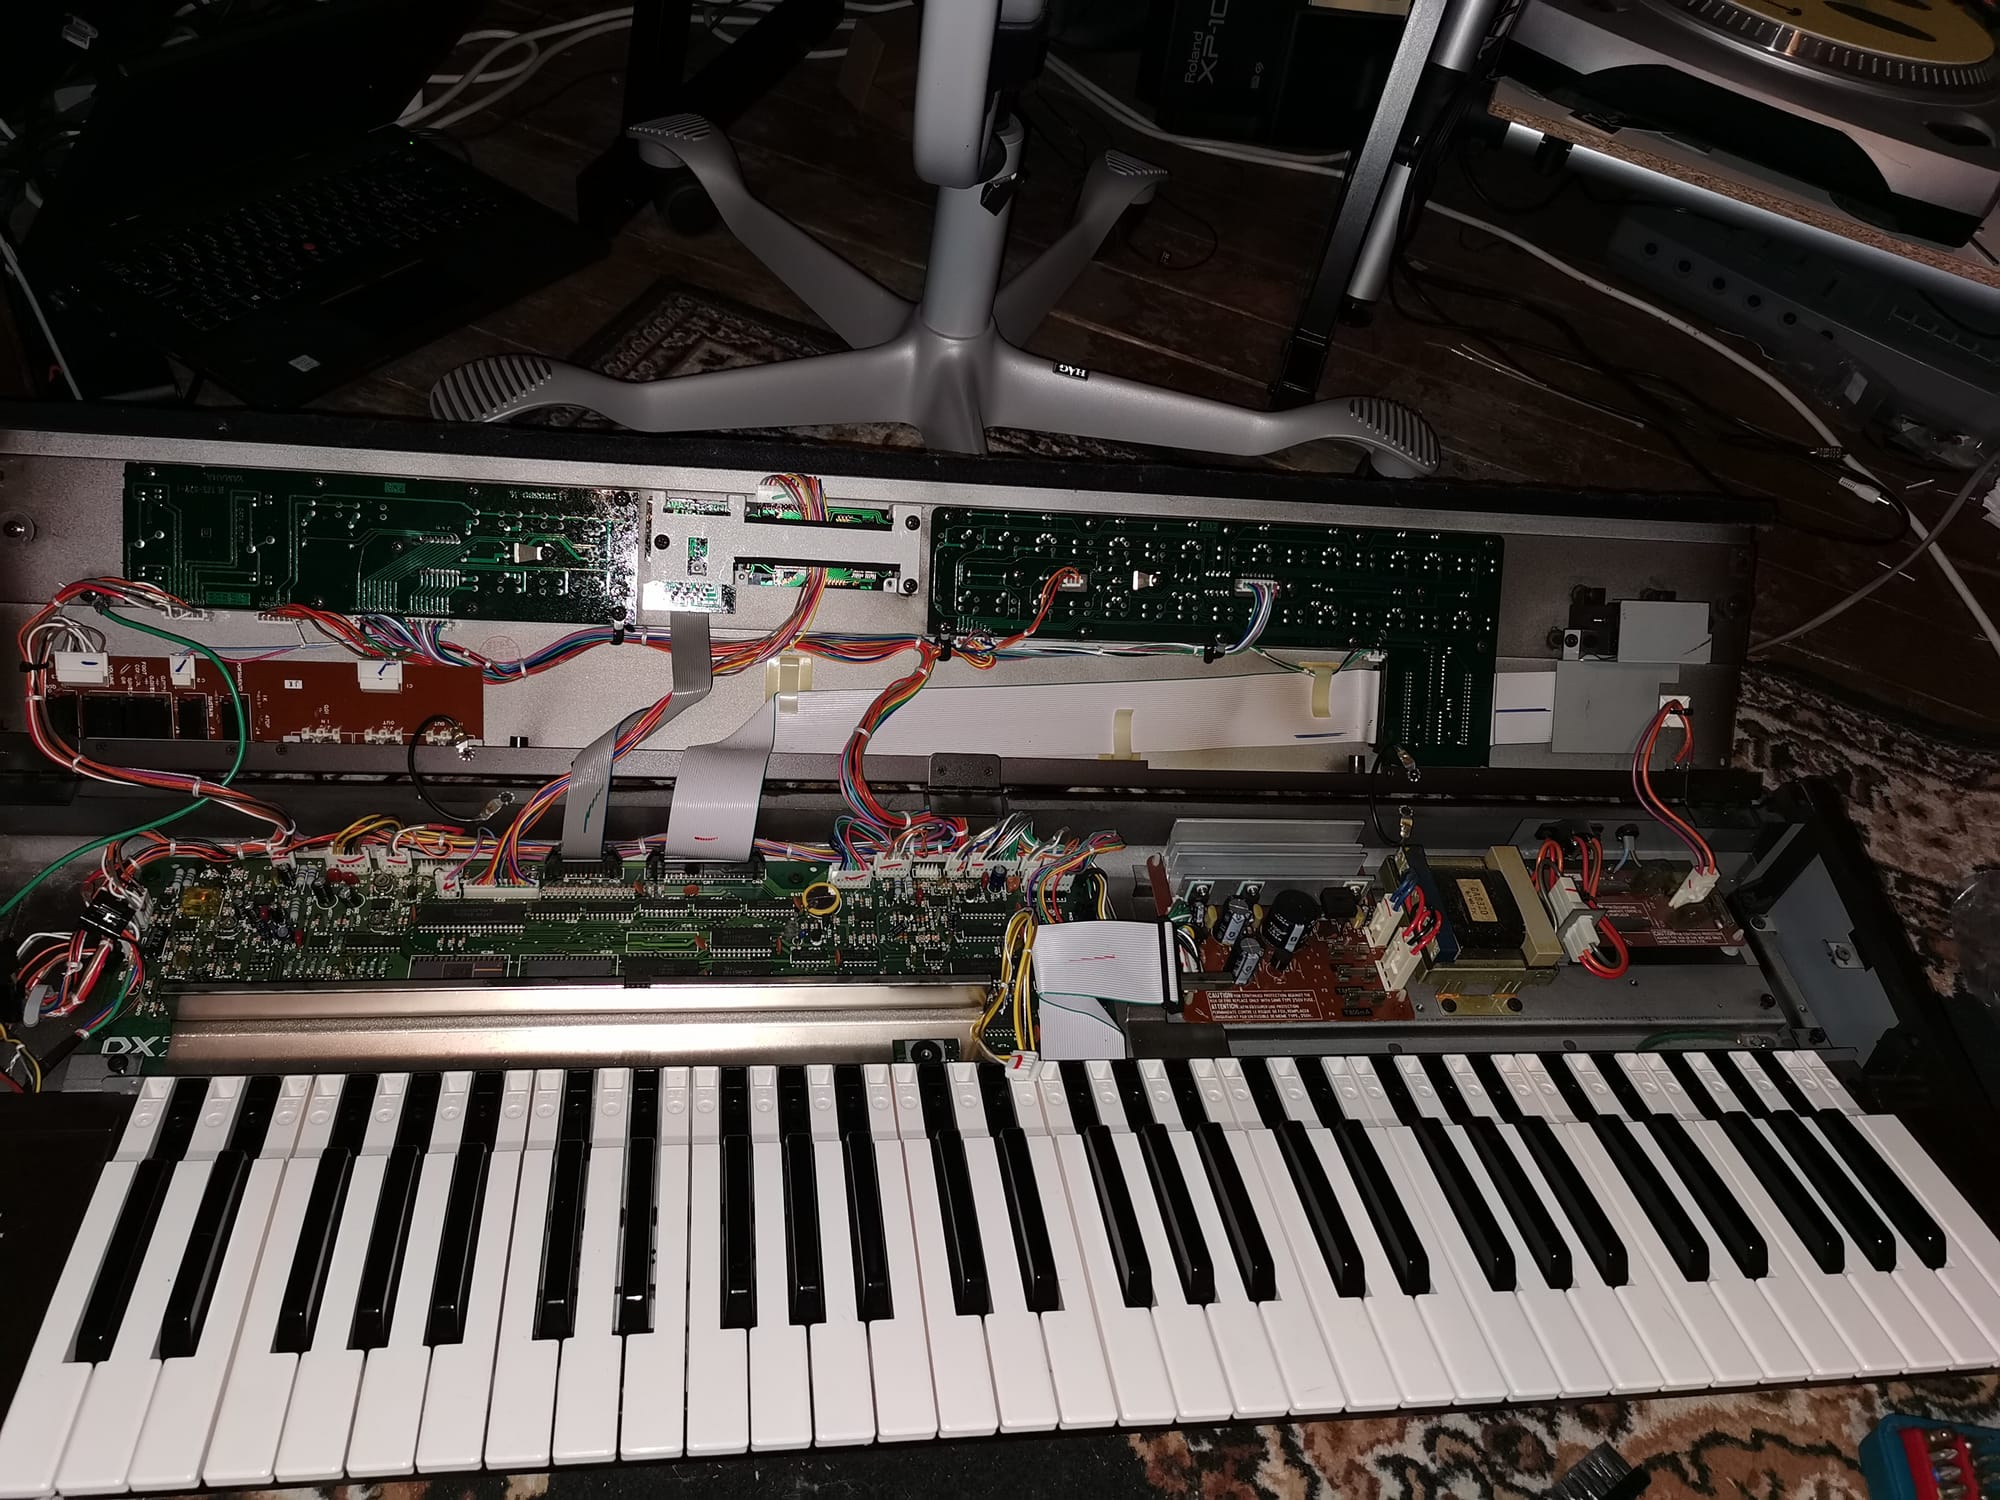
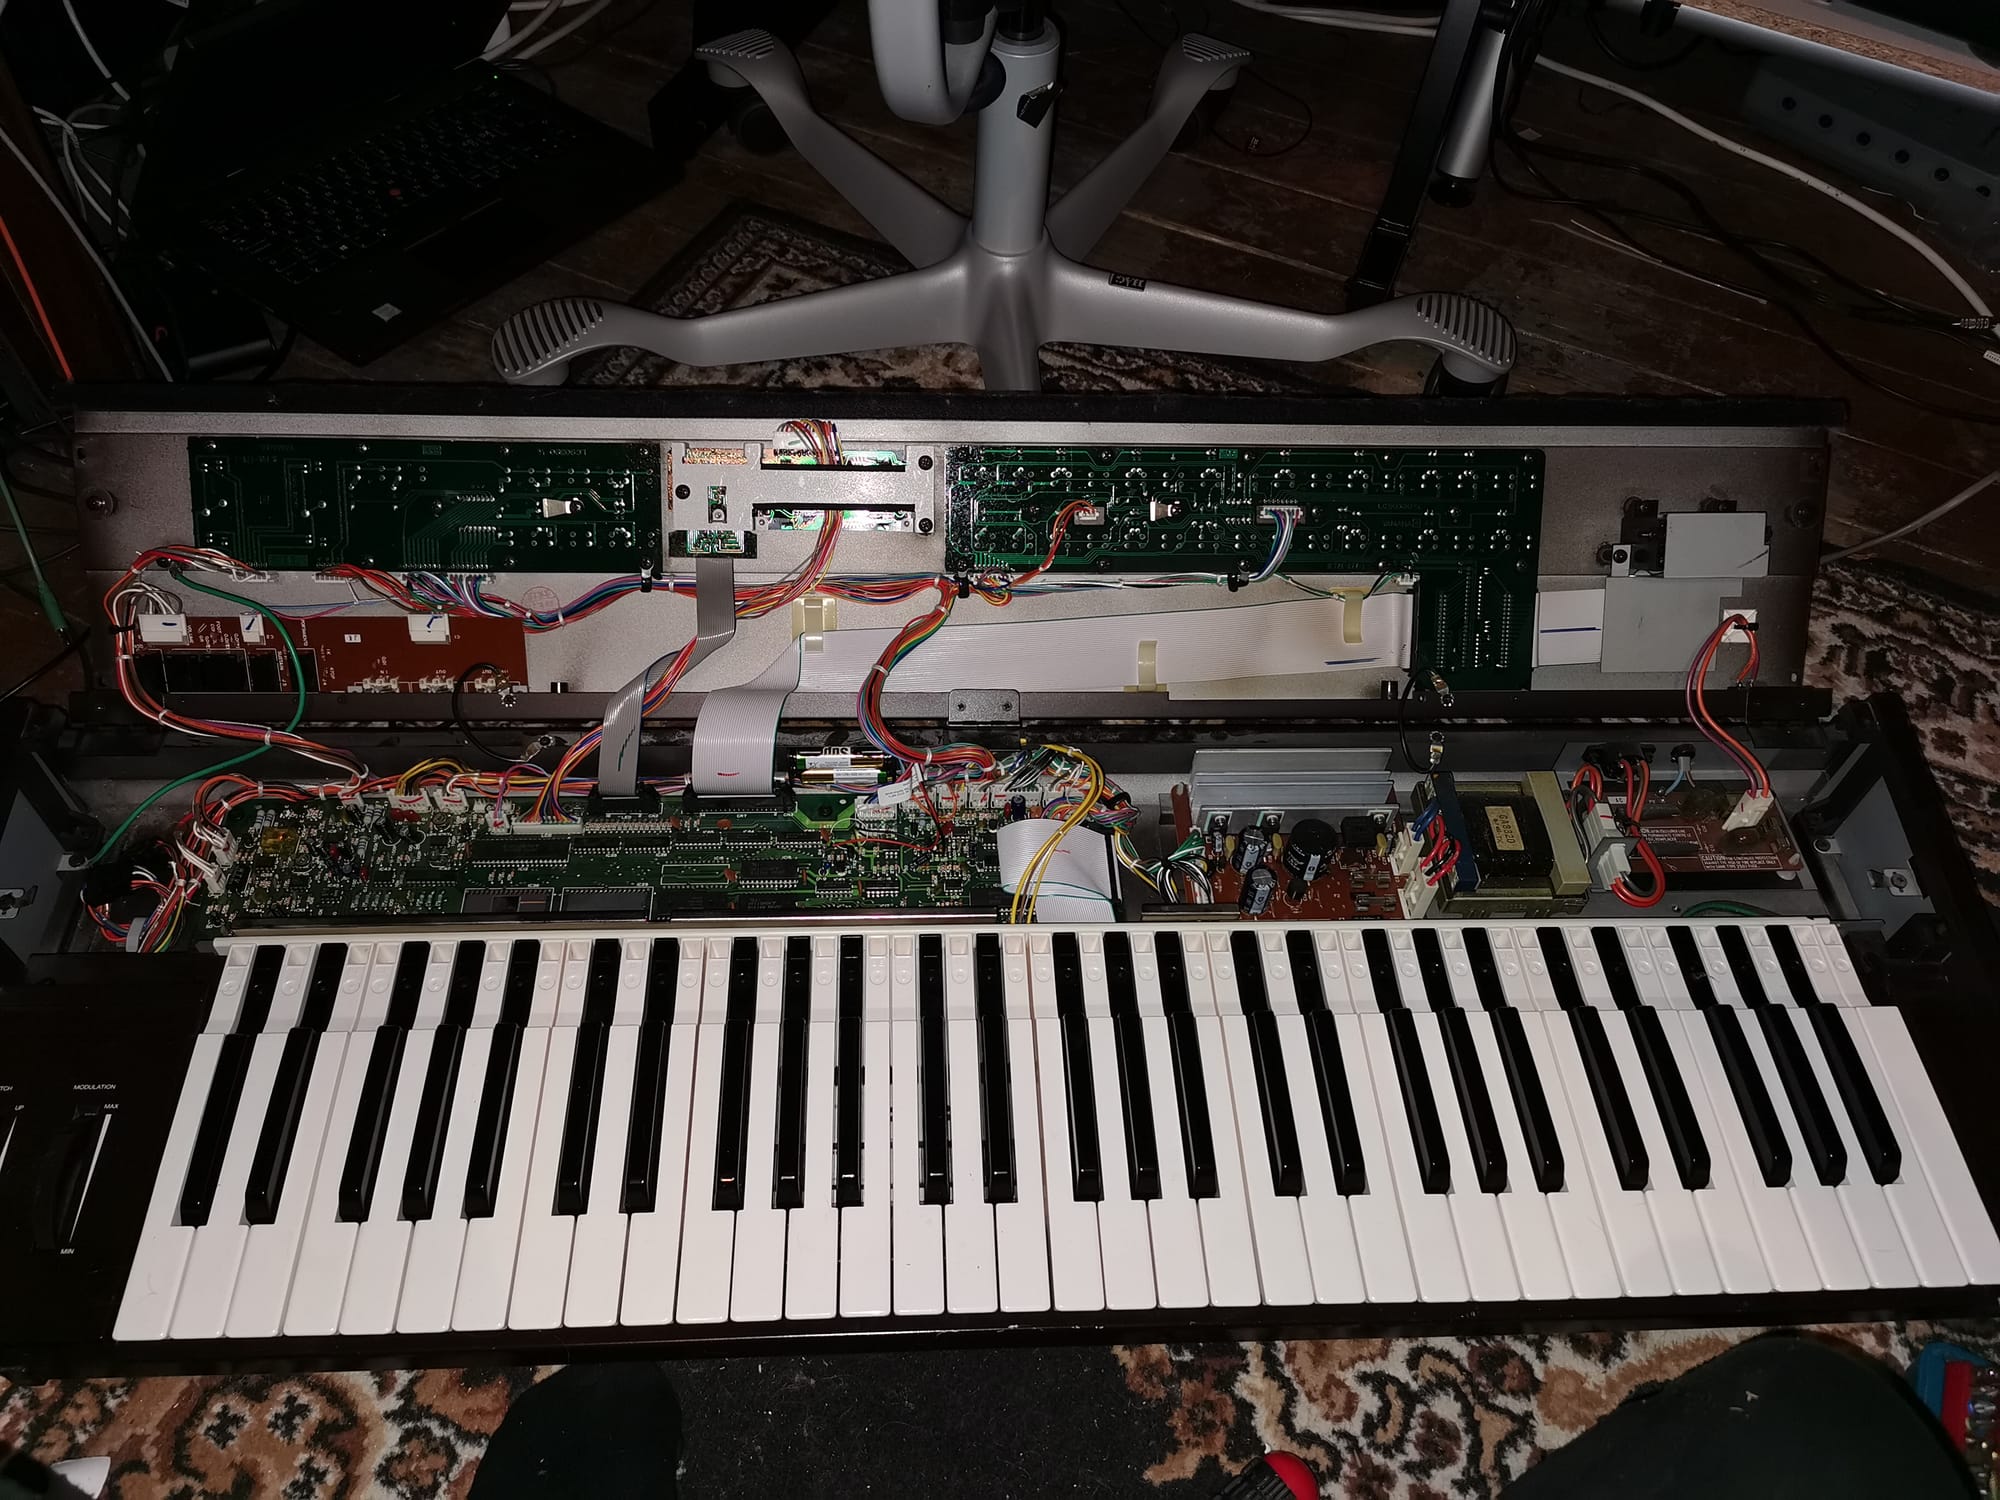
DX7 cleanup and battery change
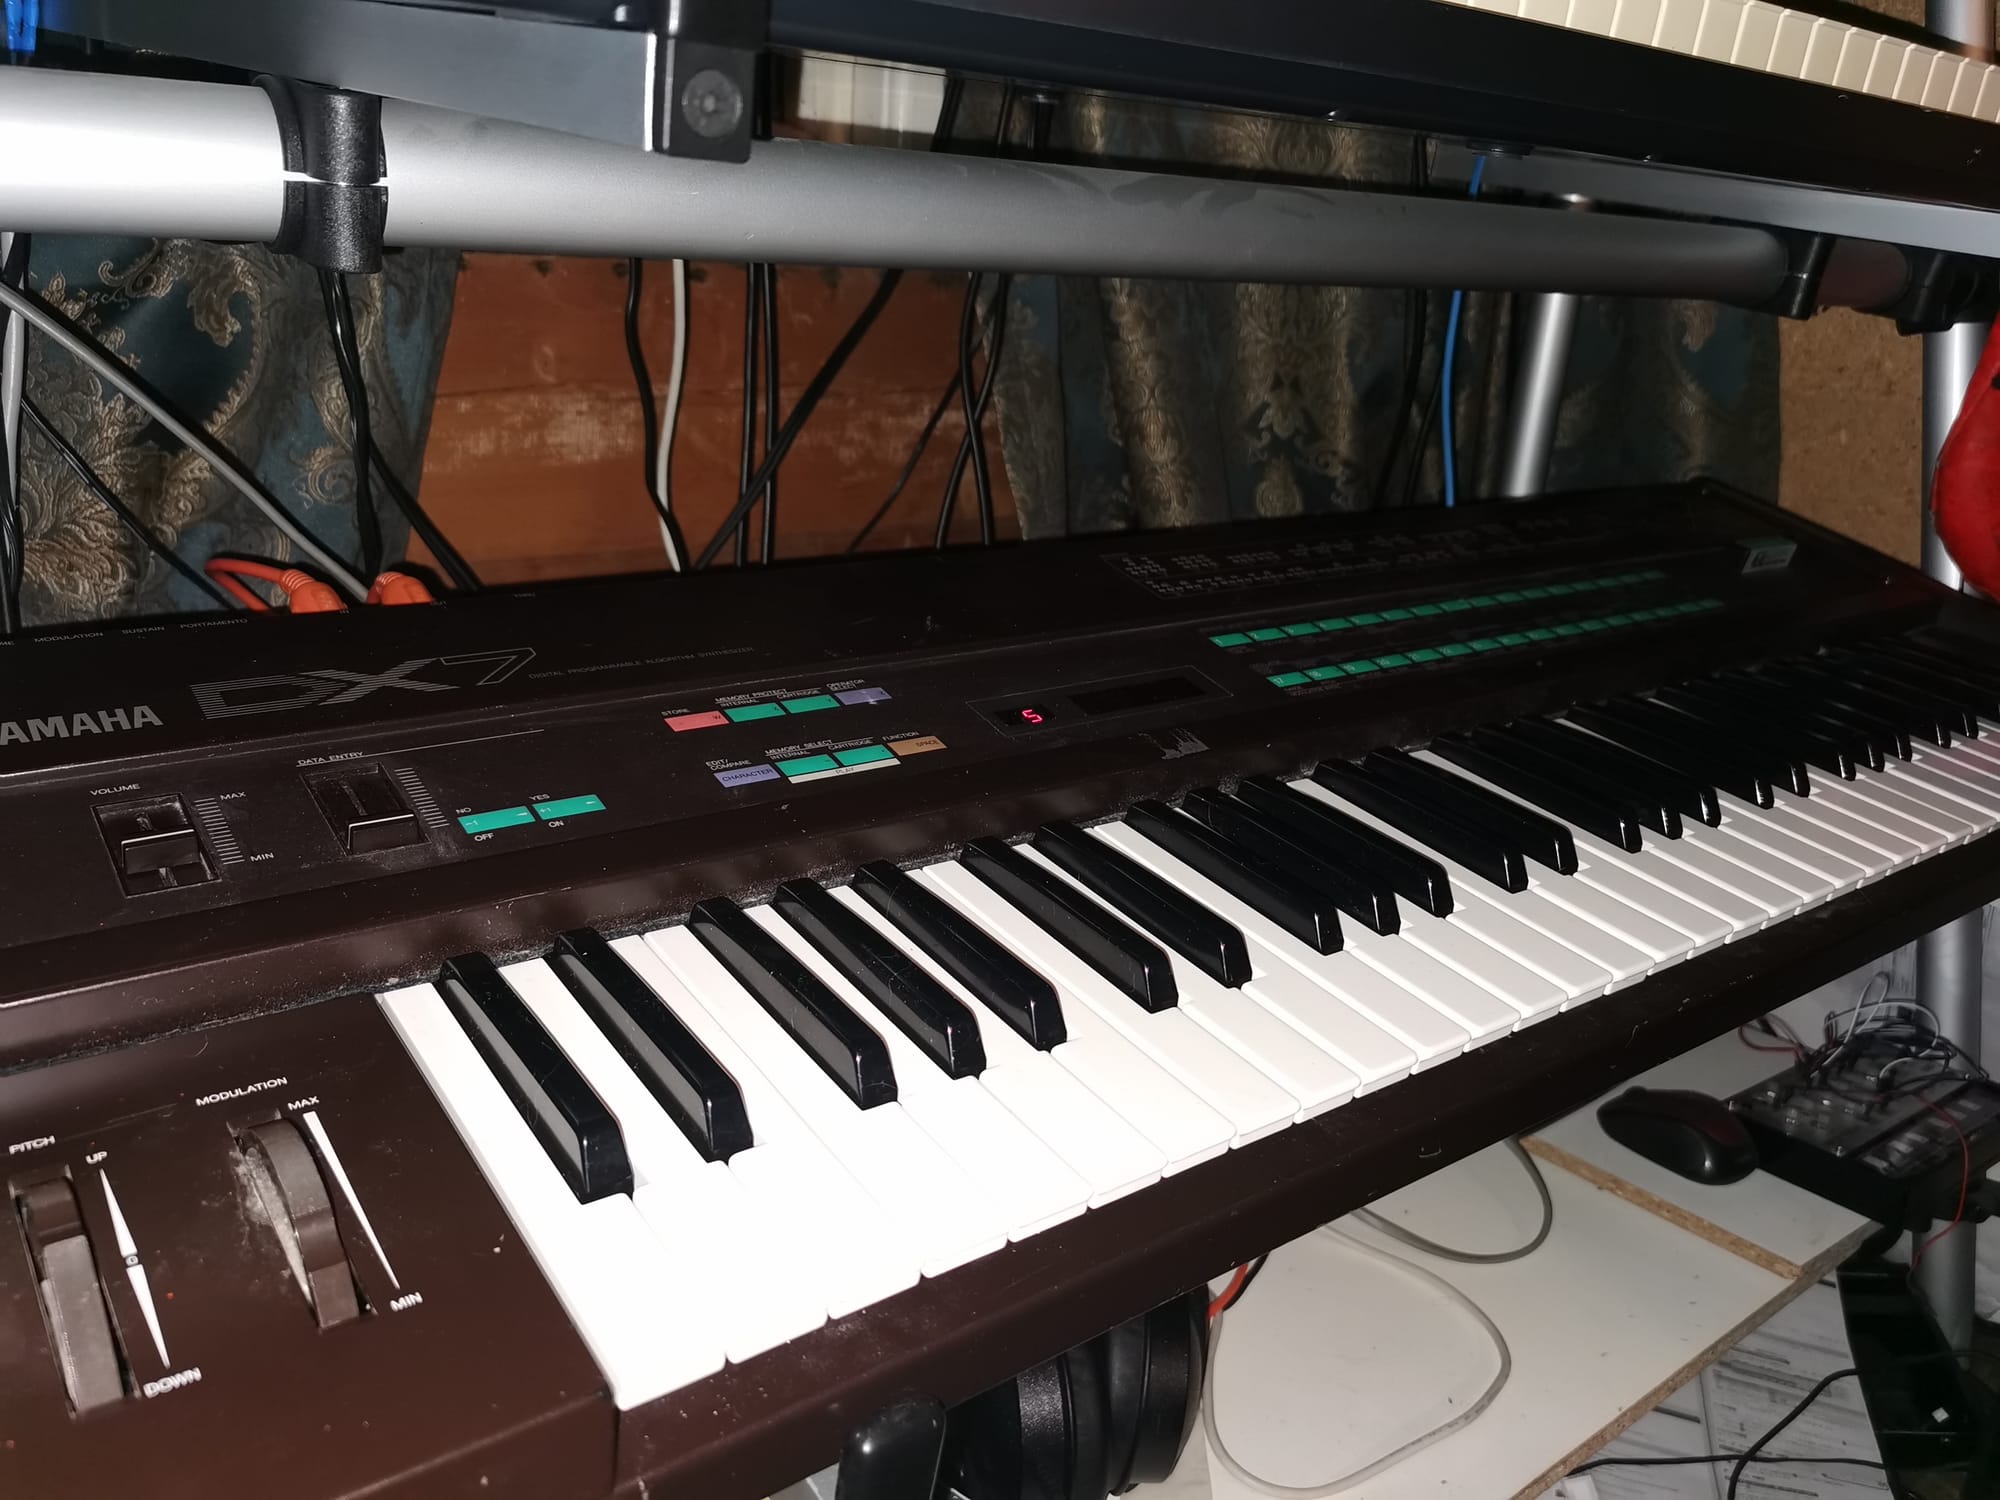
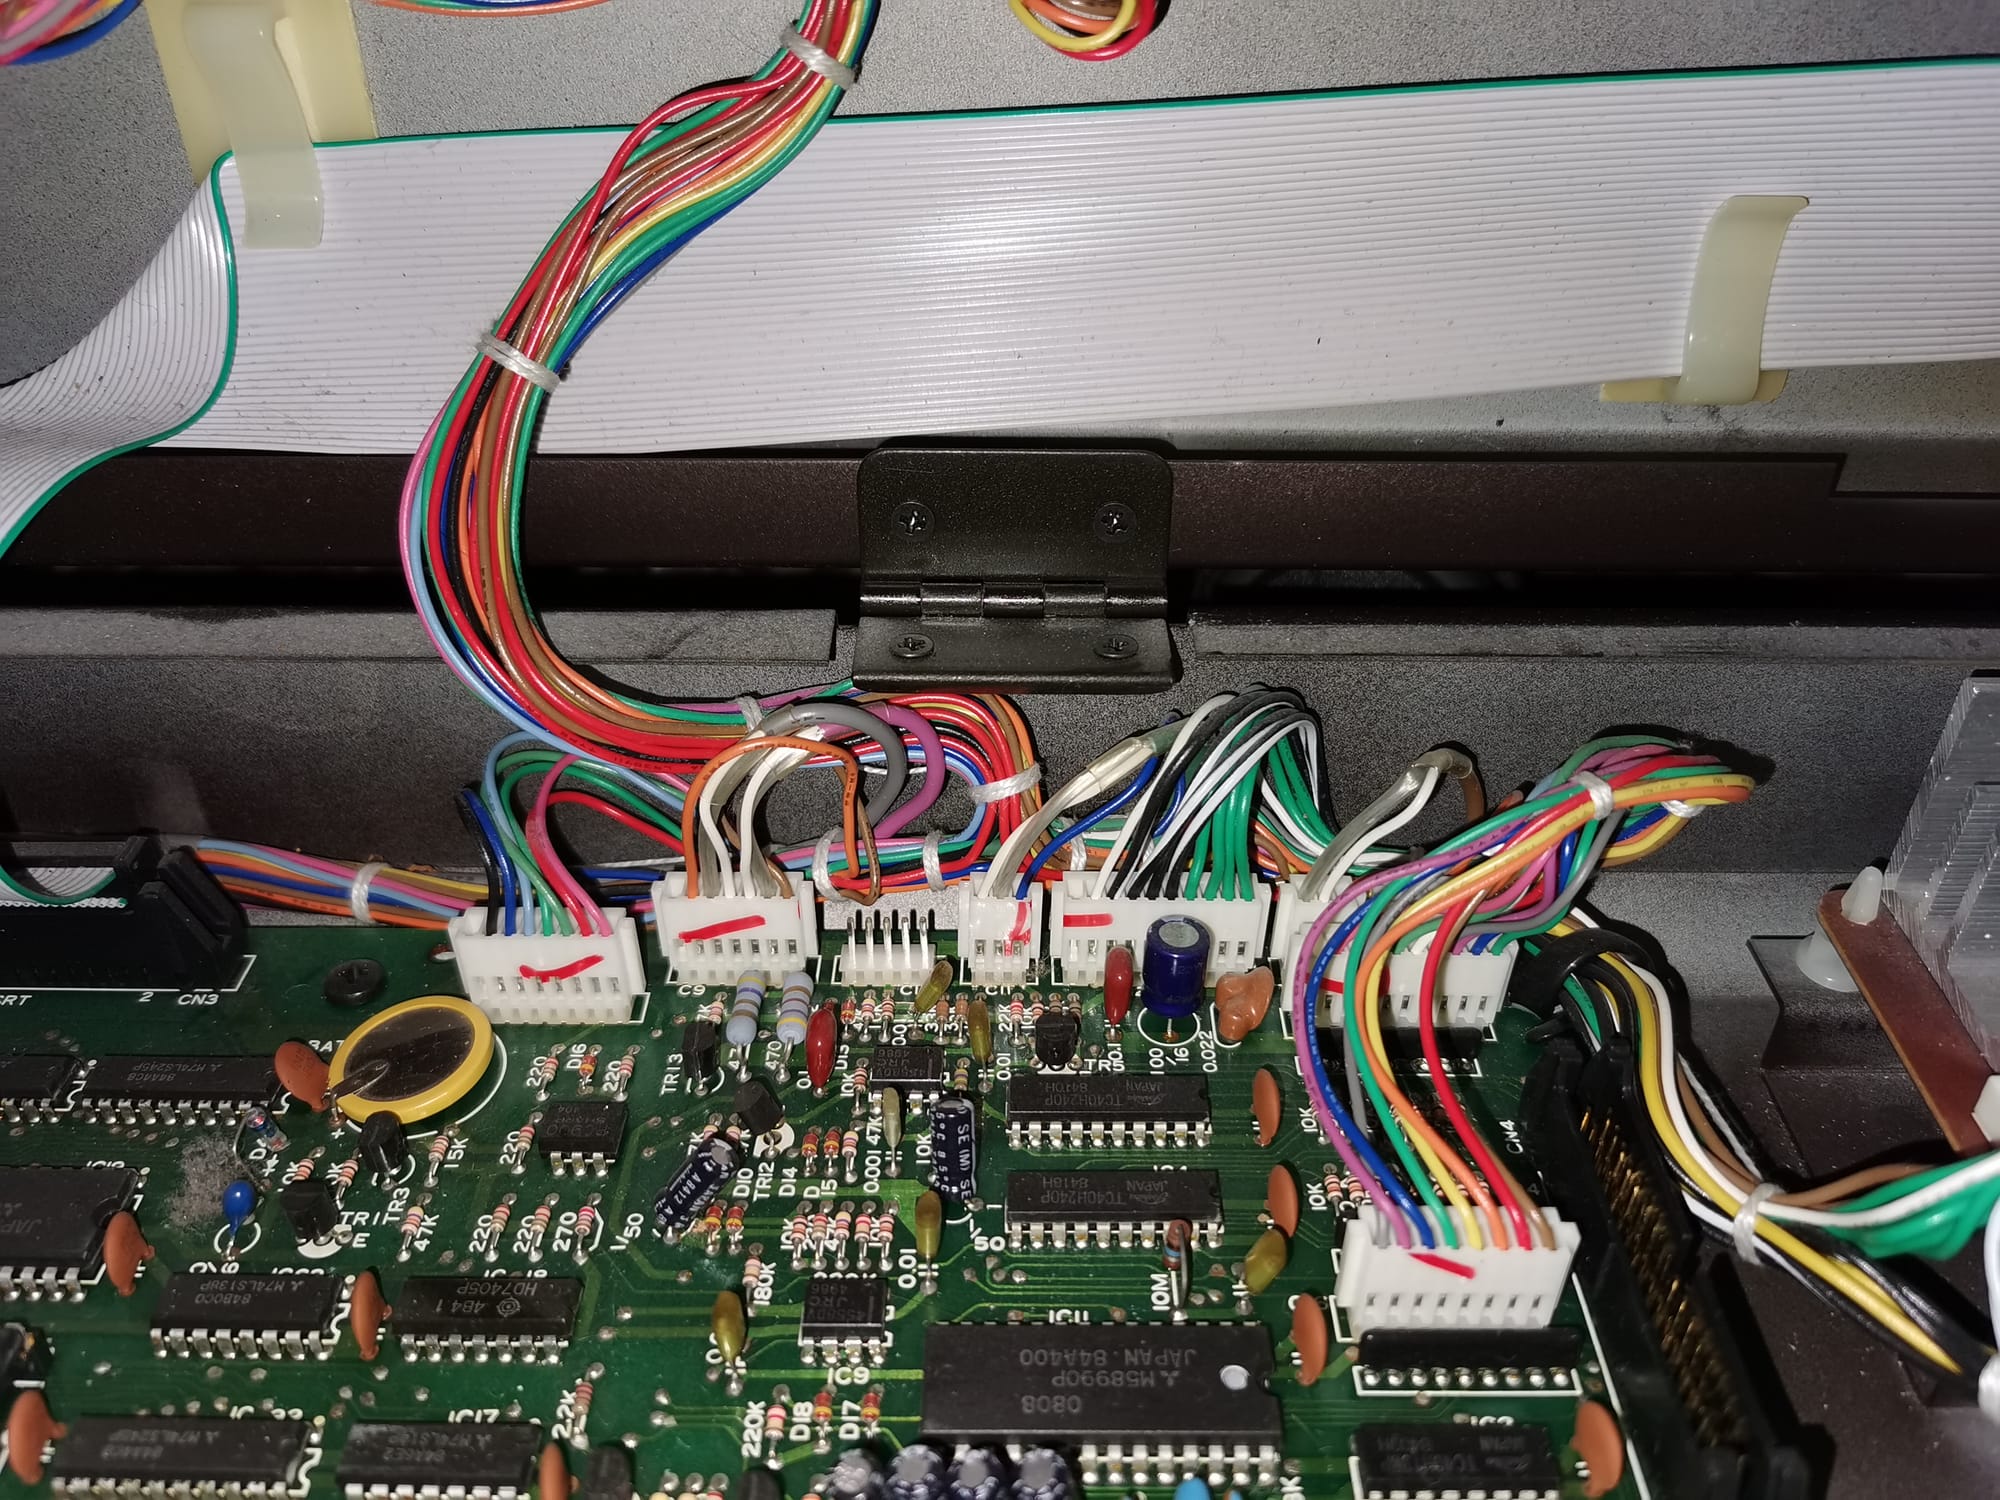
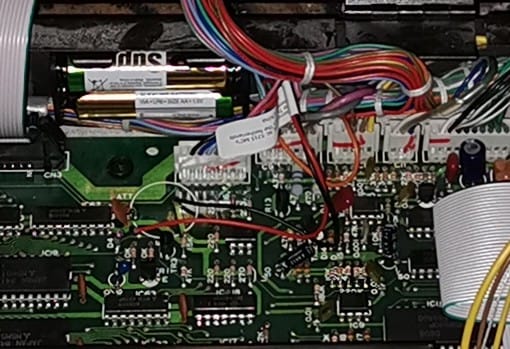
Last year I was lucky and got hold of a DX7 at a far too low price. It worked fine, but it had the original battery, and its voltage was starting to get low. The problem with the DX7 battery is that it's soldered to the main board. I wanted to make it easier to replace the battery, so I didn't want to solder the new battery directly to the PCB. The solution was to find a battery compartment. I couldn't find one for one CR2032 battery, so I opted for two AA batteries instead. They provide the same voltage, and are easy to replace.
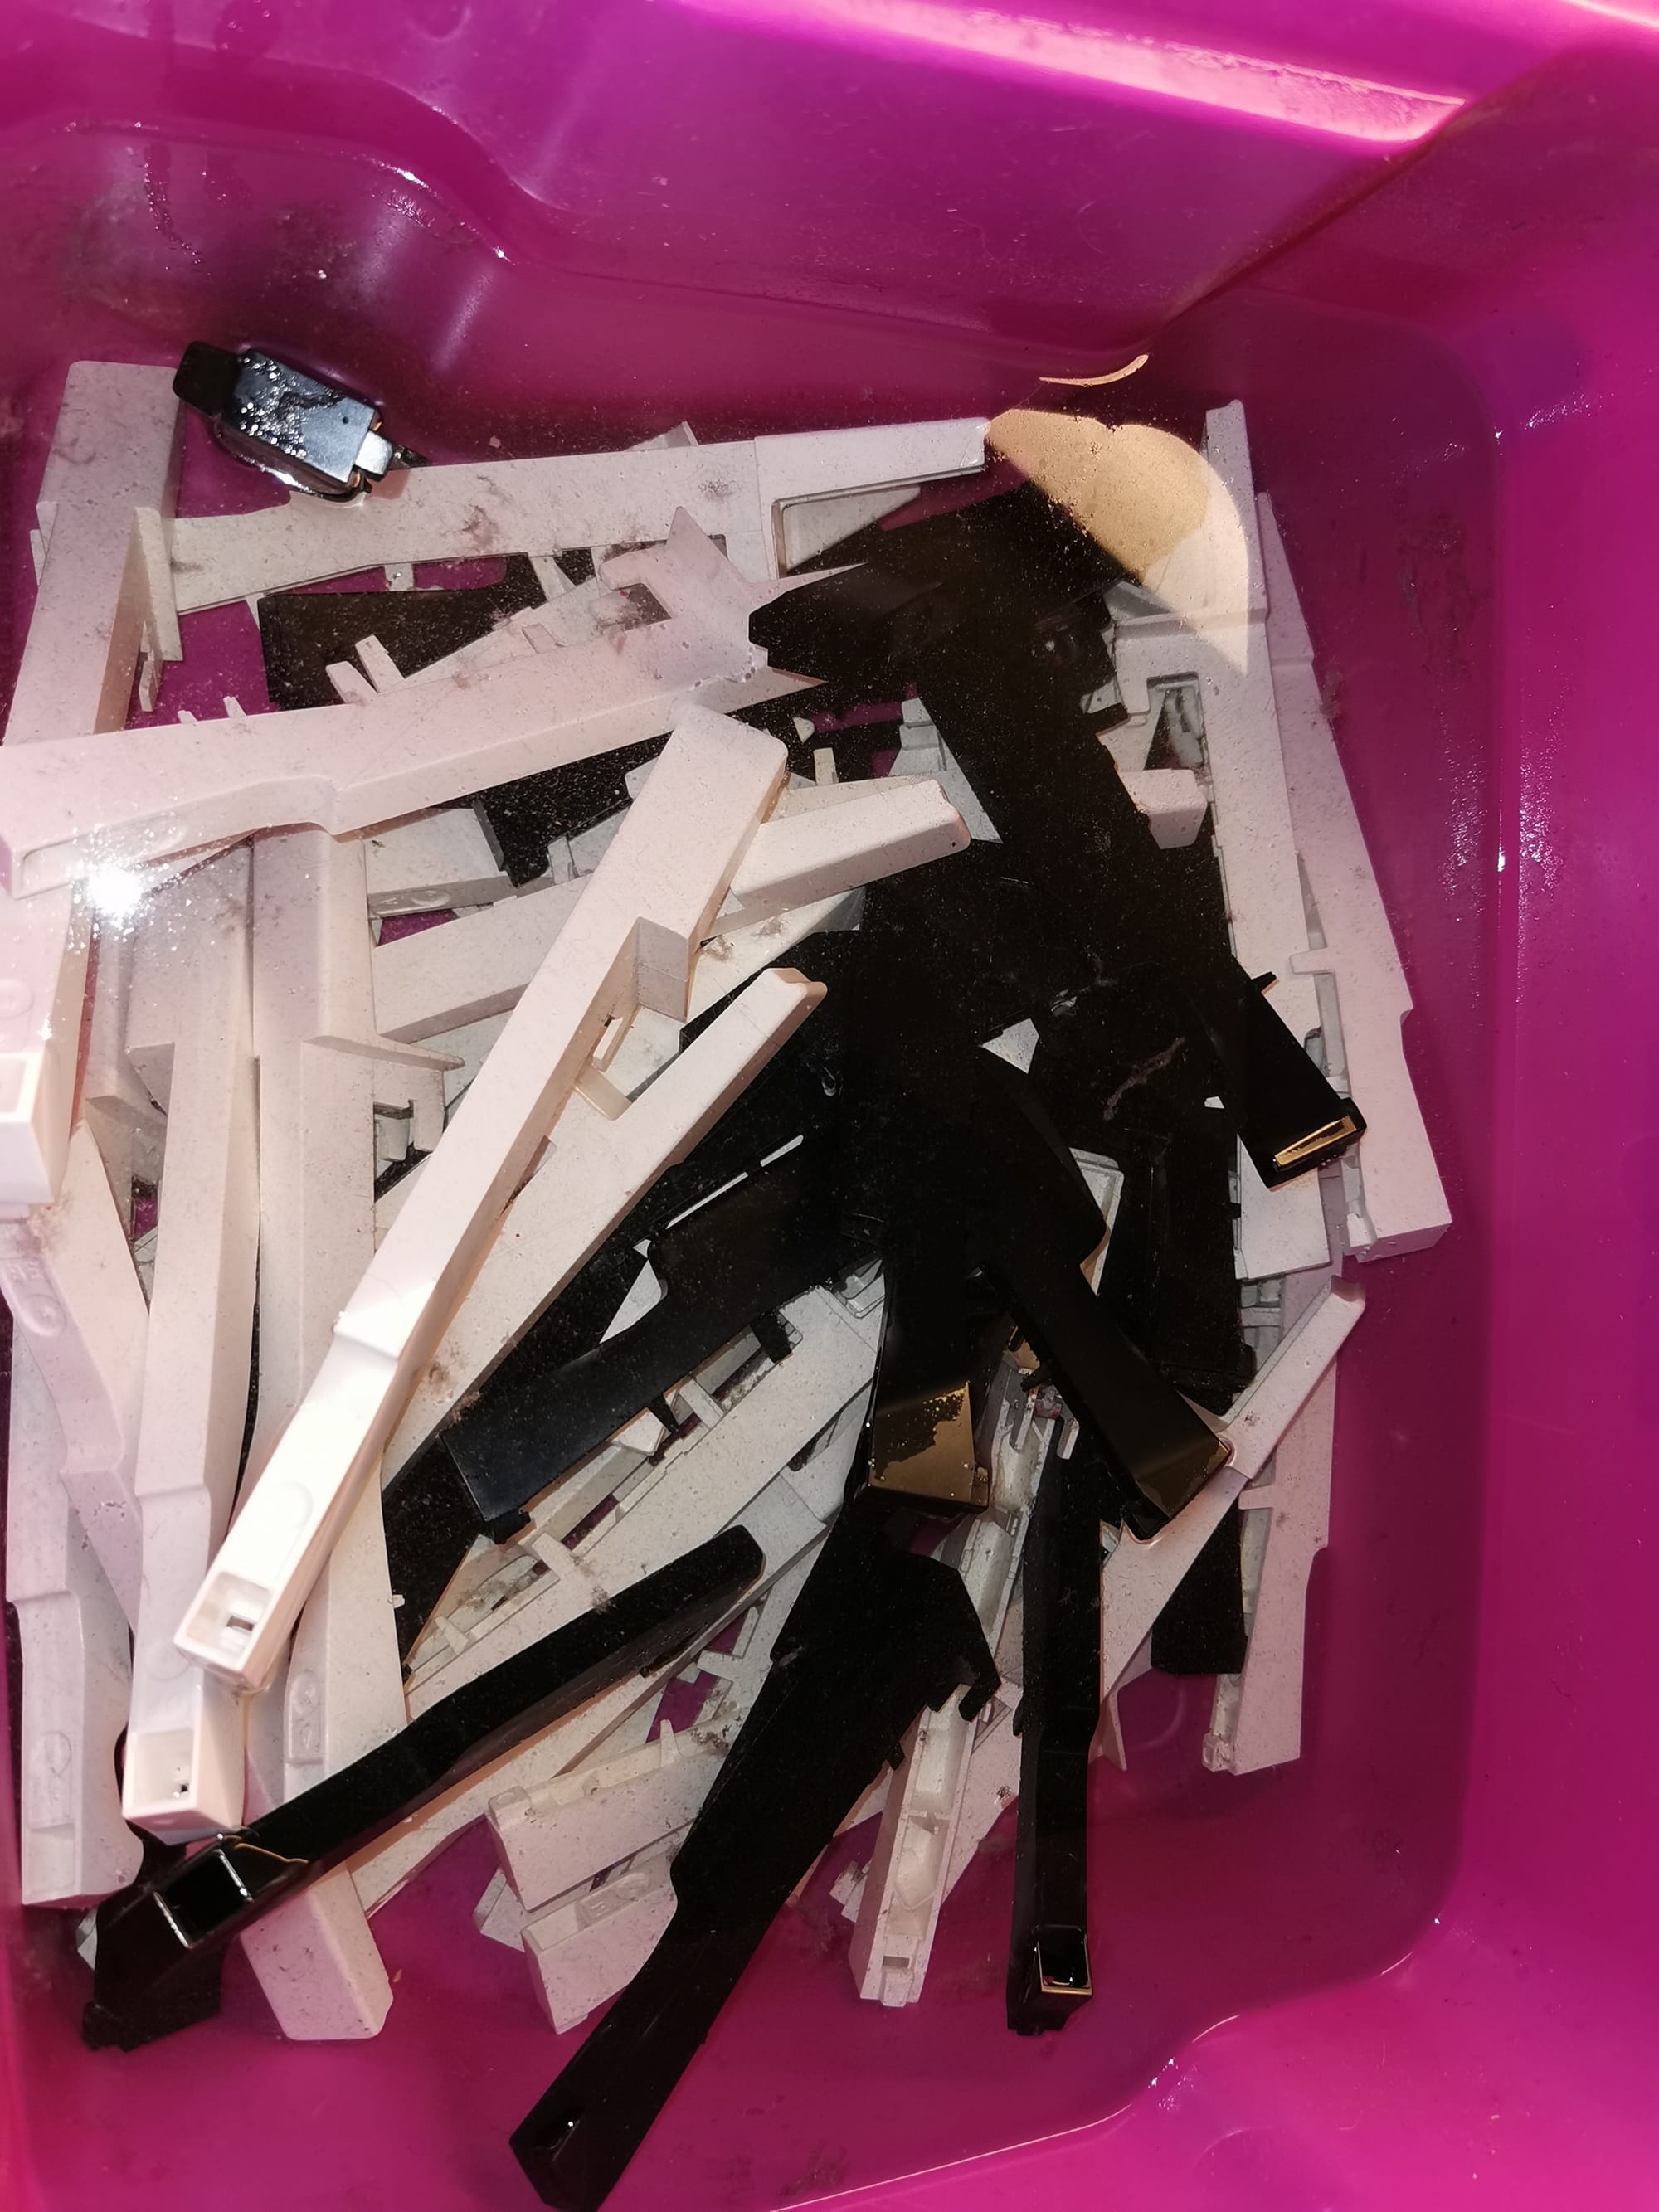
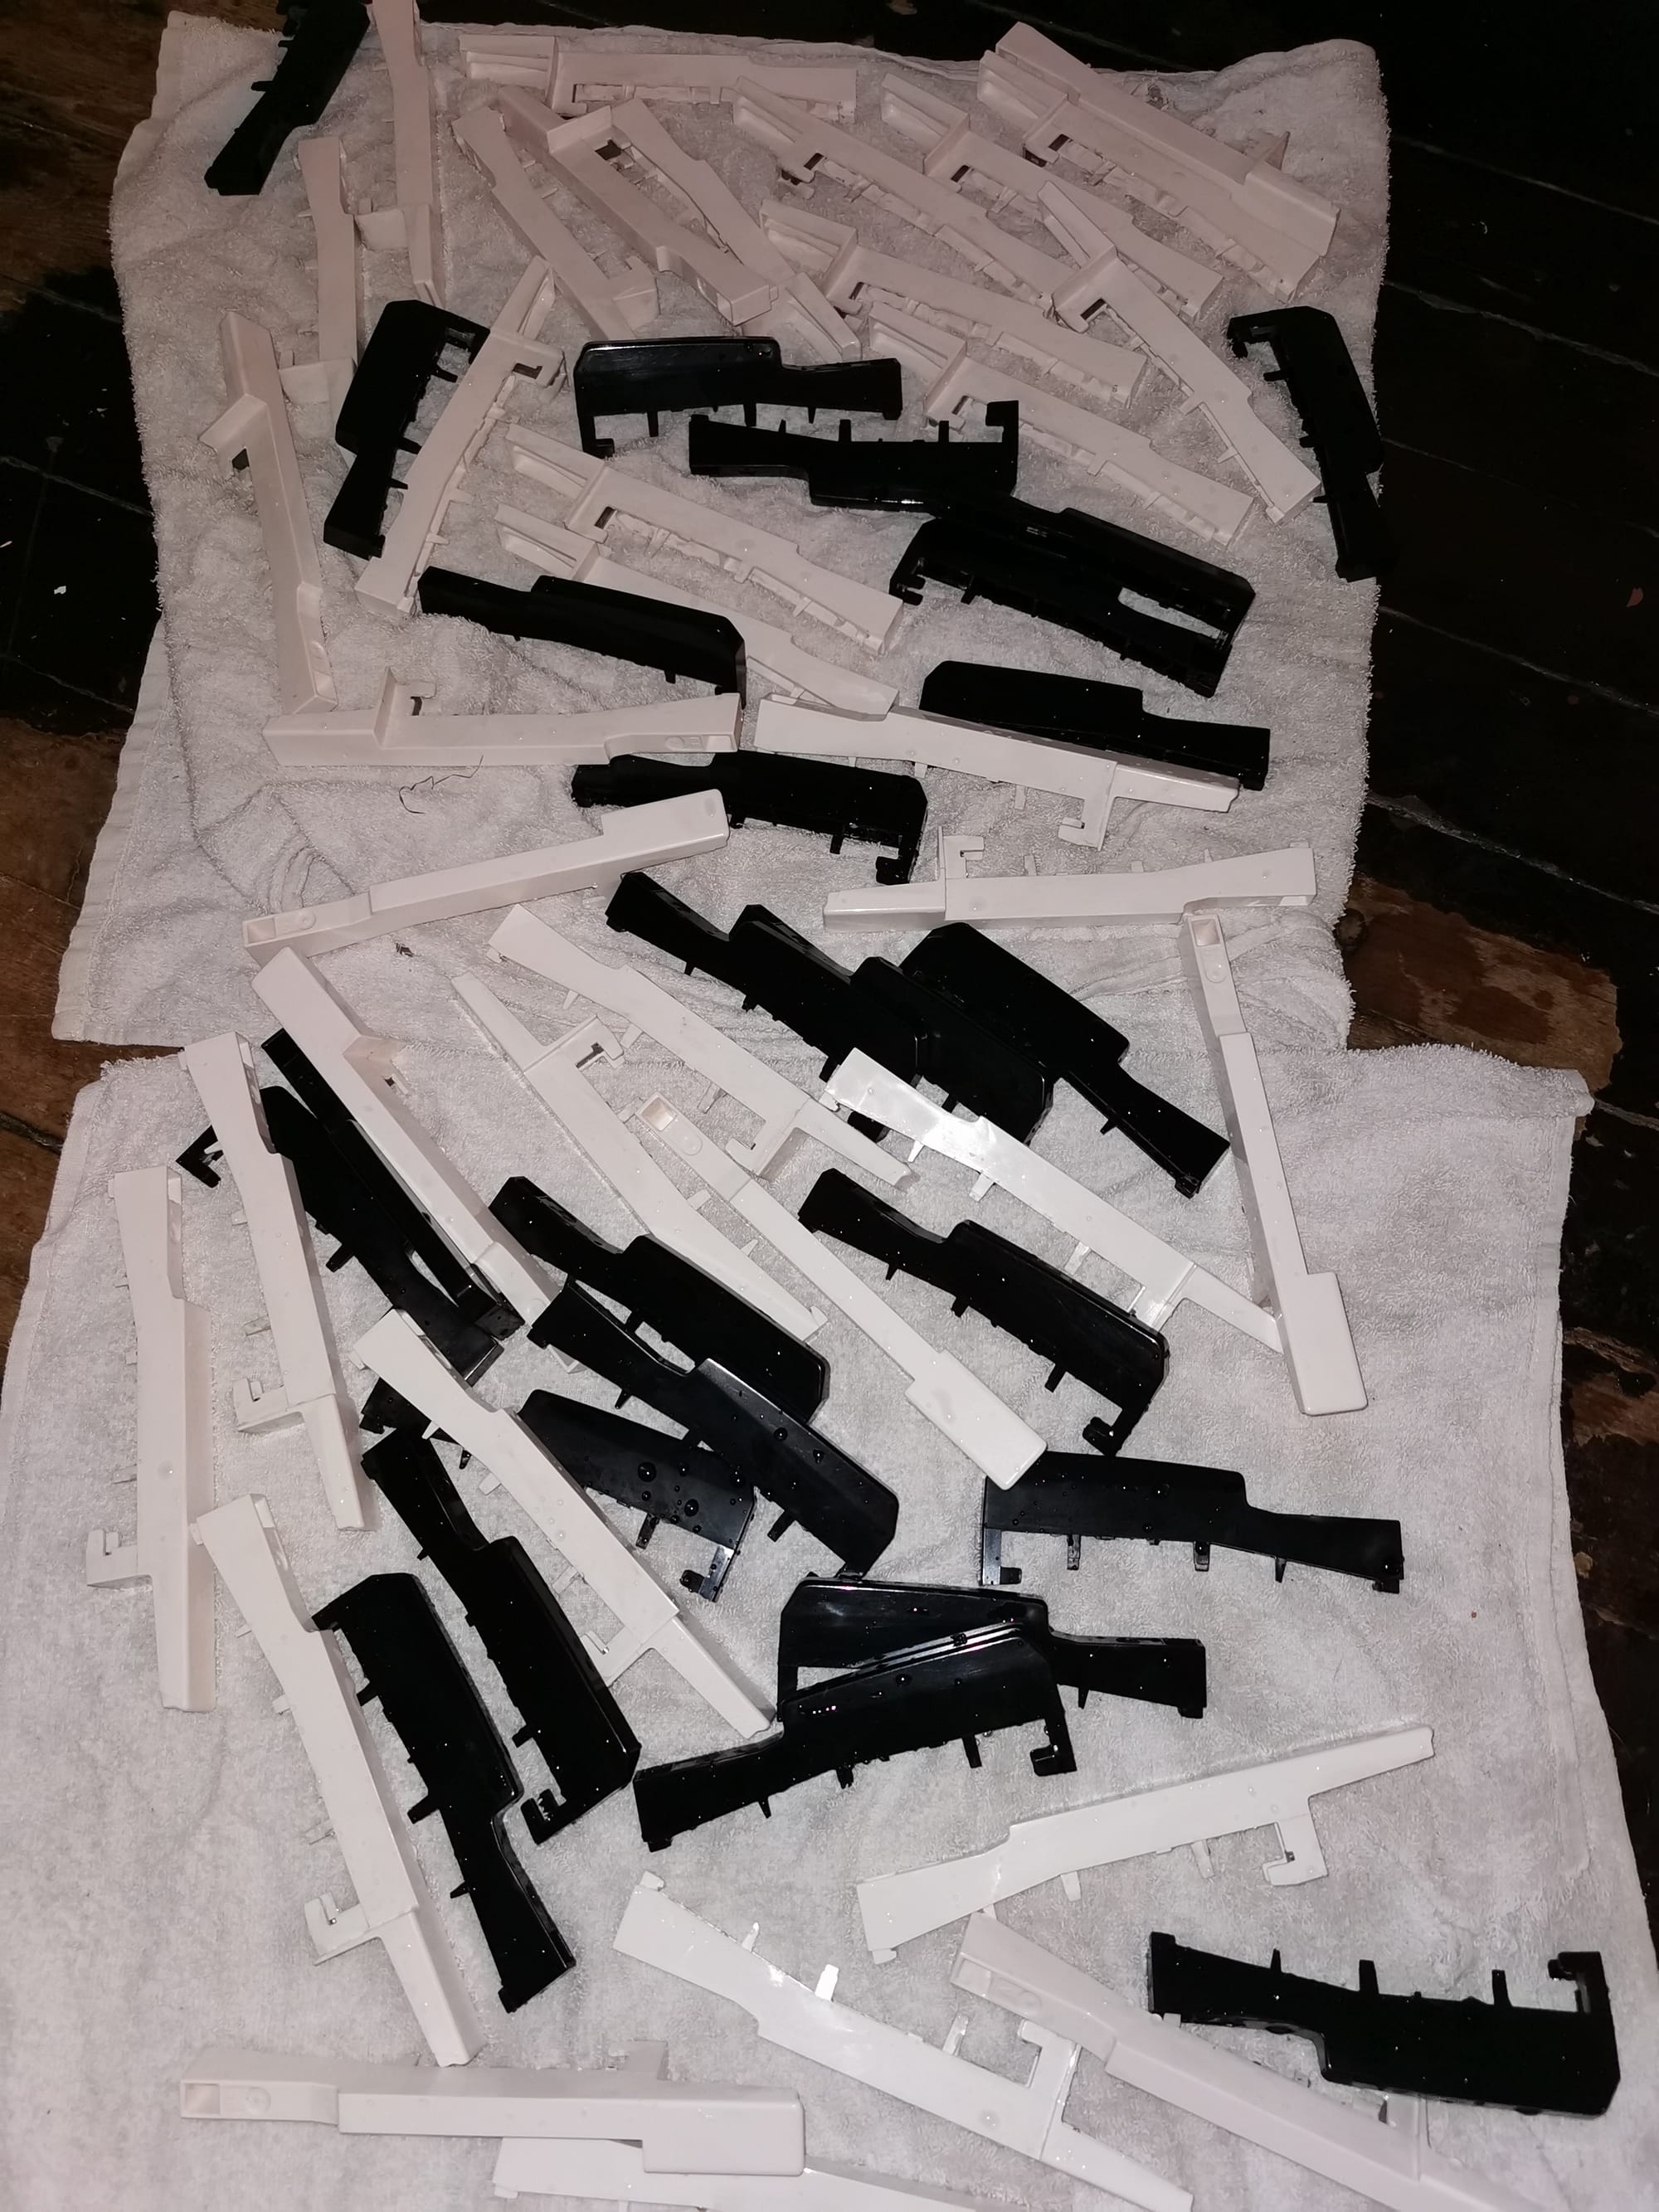
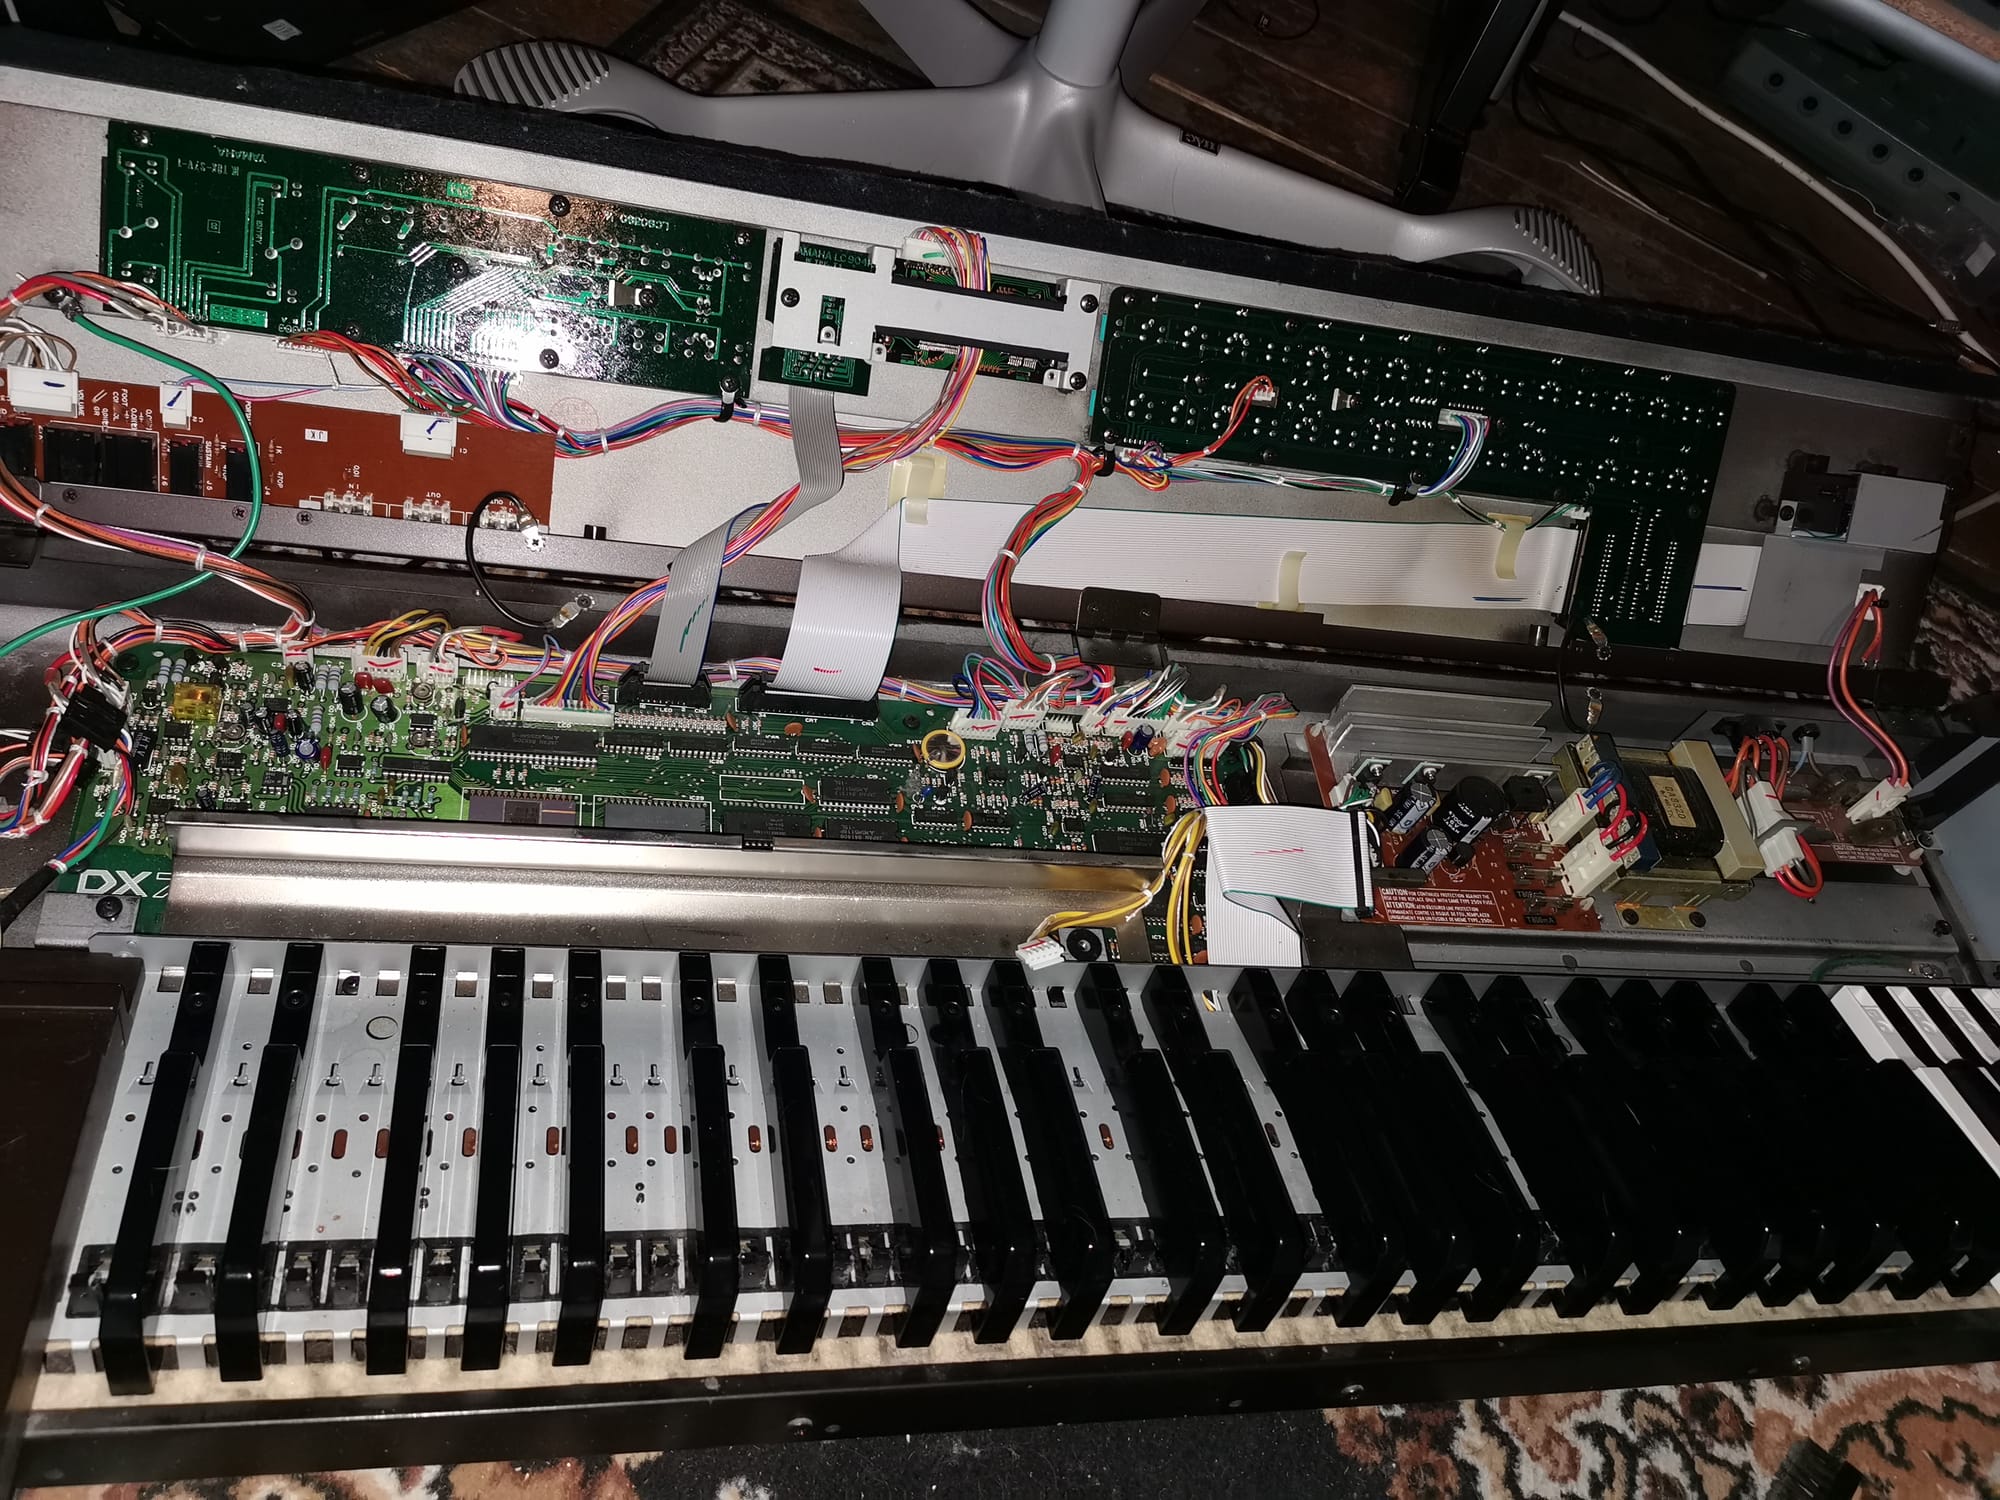
In addition to changing the battery, I did a proper cleanup of the synth. It had been kept pretty clean, but it had collected some dirt and dust over the years. I picked apart the keybed and cleaned the keys, as well as the inside and outside of the casing.
